A comprehensive developer's guide to transitioning from modern IDEs to Neovim using the LazyVim framework, covering configuration, modal editing, and essential keyboard workflows.
 Click to zoom
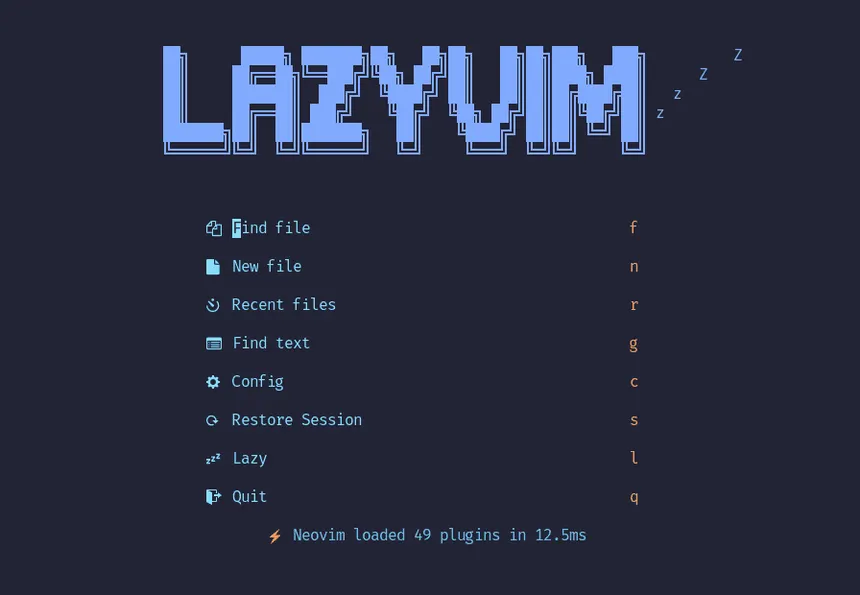
Neovim offers a compelling alternative: a keyboard-driven, modal text editor designed for speed, extensibility, and minimal resource usage. However, configuring Neovim from scratch can require hundreds of lines of Lua code.
This is where LazyVim shines. Built on top of the modern, high-performance plugin manager lazy.nvim, LazyVim provides an out-of-the-box experience with sensible IDE-like defaults (LSP diagnostics, auto-completion, interactive fuzzy search, and file trees) while maintaining the lightning-fast performance of raw Neovim.
This guide walks through the architectural advantages of LazyVim, essential modal mechanics, configuration paradigms, and key navigation workflows to help transition your development stack to the terminal.
Why Choose LazyVim?
LazyVim is not just another pre-configured set of plugins; it is a structured framework designed to keep your setup lightweight and easily customizable.
- Lazy Loading by Default: Plugins are only loaded when triggered by specific file types or keybindings, keeping startup times under 50 milliseconds.
- First-Class LSP Support: Auto-completion, syntax formatting, linting, and diagnostics are pre-configured and operate asynchronously.
- Structured Configuration: It separates default settings from user custom modifications, making updates seamless.
- Active Ecosystem: Integrates with Mason, Telescope, Treesitter, and Neo-tree natively, providing modern workspace visuals.
1. Navigating Neovim's Modal Architecture
Unlike conventional editors where keypresses immediately type characters, Neovim operates on a modal design pattern. Understanding when and why to transition between modes is the foundation of terminal editing efficiency.
| Mode | Entry Key | Description & Layout |
|---|---|---|
| Normal | Esc or Ctrl + [ | The default state. Used for code navigation, copy/paste operations, refactoring, and triggering commands. |
| Insert | i (before cursor), a (after cursor) | Standard text input mode. |
| Visual | v (character), V (line block) | Highlight and select text blocks for formatting, indentation, or deletions. |
| Command | : | Opens the command line prompt to run system operations, save files, or quit the editor. |
2. Essential Vim Motion Mechanics
motions allow you to navigate files without using a mouse or arrow keys. In Normal Mode, your fingers rest on the home row (h, j, k, l):
Basic Cursor Positioning
h– Move cursor one character leftj– Move cursor one line downk– Move cursor one line upl– Move cursor one character right
Semantic Navigation
w– Jump forward to the start of the next word.b– Jump backward to the start of the previous word.e– Jump forward to the end of the current or next word.0– Jump to the absolute beginning of the current line.$– Jump to the end of the current line.gg– Navigate to the first line of the file.G– Navigate to the last line of the file.
Vim Command Grammar (Action + Motion)
Vim commands are constructed like sentences: [Operator] + [Count] + [Motion].
d(Delete) +w(Word) =dw(Delete from cursor to the start of the next word).c(Change) +i(Inside) +w(Word) =ciw(Delete current word and enter Insert Mode immediately).y(Yank/Copy) +y=yy(Copy the current line).p(Paste/Put) = Pastes the clipboard contents below the current line.u– Undo last action.Ctrl + r– Redo last undone action.
3. Directory Layout and Configuration
LazyVim structures its configuration files inside ~/.config/nvim/. The layout is designed to separate defaults from user configurations:
~/.config/nvim/
├── lua/
│   ├── config/
│   │   ├── autocmds.lua  # Custom event triggers
│   │   ├── keymaps.lua   # User-defined shortcut mappings
│   │   └── options.lua   # Editor settings (indentation, line numbers)
│   └── plugins/
│       └── example.lua   # Custom plugin configurations and overrides
├── init.lua              # Entrypoint file
└── lazy-lock.json        # Lockfile pinning plugin commits for reproducibility
Adding New Plugins
To add a new plugin (e.g., a color theme or utility), simply create a file under lua/plugins/ returning a Lua table defining the repository:
-- lua/plugins/copilot.lua
return {
  "github/copilot.vim",
  event = "InsertEnter",
  config = function()
    -- Plugin-specific options go here
  end,
}
4. Master LazyVim Keyboard Workflows
LazyVim configures the Space key as your Leader Key. Pressing Space inside normal mode displays a search panel listing all available options, grouped by feature.
Telescope Search & Navigation
Space + ff– Search for files in the current repository by name.Space + fg– Search across the full text of all files using live grep.Space + fr– Open recently accessed files.Space + Space– Find open buffers.
Workspace & Window Splits
Space + e– Toggle Neo-tree (Sidebar file explorer).Space + |– Split the current window vertically.Space + -– Split the current window horizontally.Ctrl + h/j/k/l– Navigate focus between split windows.
Buffer Management
Shift + h– Navigate to the previous open buffer tab.Shift + l– Navigate to the next open buffer tab.Space + bd– Close the current buffer safely without breaking splits.
5. Integrated LSP and Code intelligence
LazyVim includes out-of-the-box LSP diagnostics and autocomplete powered by blink.cmp and nvim-lspconfig:
gd– Jump to the definition under the cursor.gr– List all references of the variable or function.K– Toggle hover documentation (signatures, types, docstrings).Space + ca– Open code actions to import modules, fix errors, or run formatting.Space + rn– Rename the variable or function globally across all files.[d/]d– Jump to the previous/next syntax error or warning.:Mason– Open Mason package manager to install formatters, linters, and LSP servers dynamically.
Conclusion and Practice Routine
Developing muscle memory in Neovim takes time. Do not try to switch all your daily engineering work to Neovim at once.
Instead, adopt a phased transition:
- Week 1: Edit git commits, config files, and do minor script editing in Neovim. Keep arrow keys disabled to force home row movement (
h, j, k, l). - Week 2: Master fuzzy file finding (
Space + ff) and splitting windows (Space + |). Start doing standalone component editing. - Week 3: Configure Mason (
:Mason) for your language syntax, enable format-on-save, and build full backend features in the terminal.
Within a month, your coding speed will improve, and keeping your hands on the keyboard will lead to a more focused and ergonomic development flow.
"You have a right to perform your prescribed duty, but you are not entitled to the fruits of actions."
Design by SahilCodex
© 2026. Build with Hands.